Ombré Like You Mean It
Welcome back to the Makerspace Blog…my apologies for the delayed posting! I got a little behind last week with Nor’easter Number Three, so I want to get this posted so you’ll have something to read while you’re snowed in by Nor’easter Number Four.
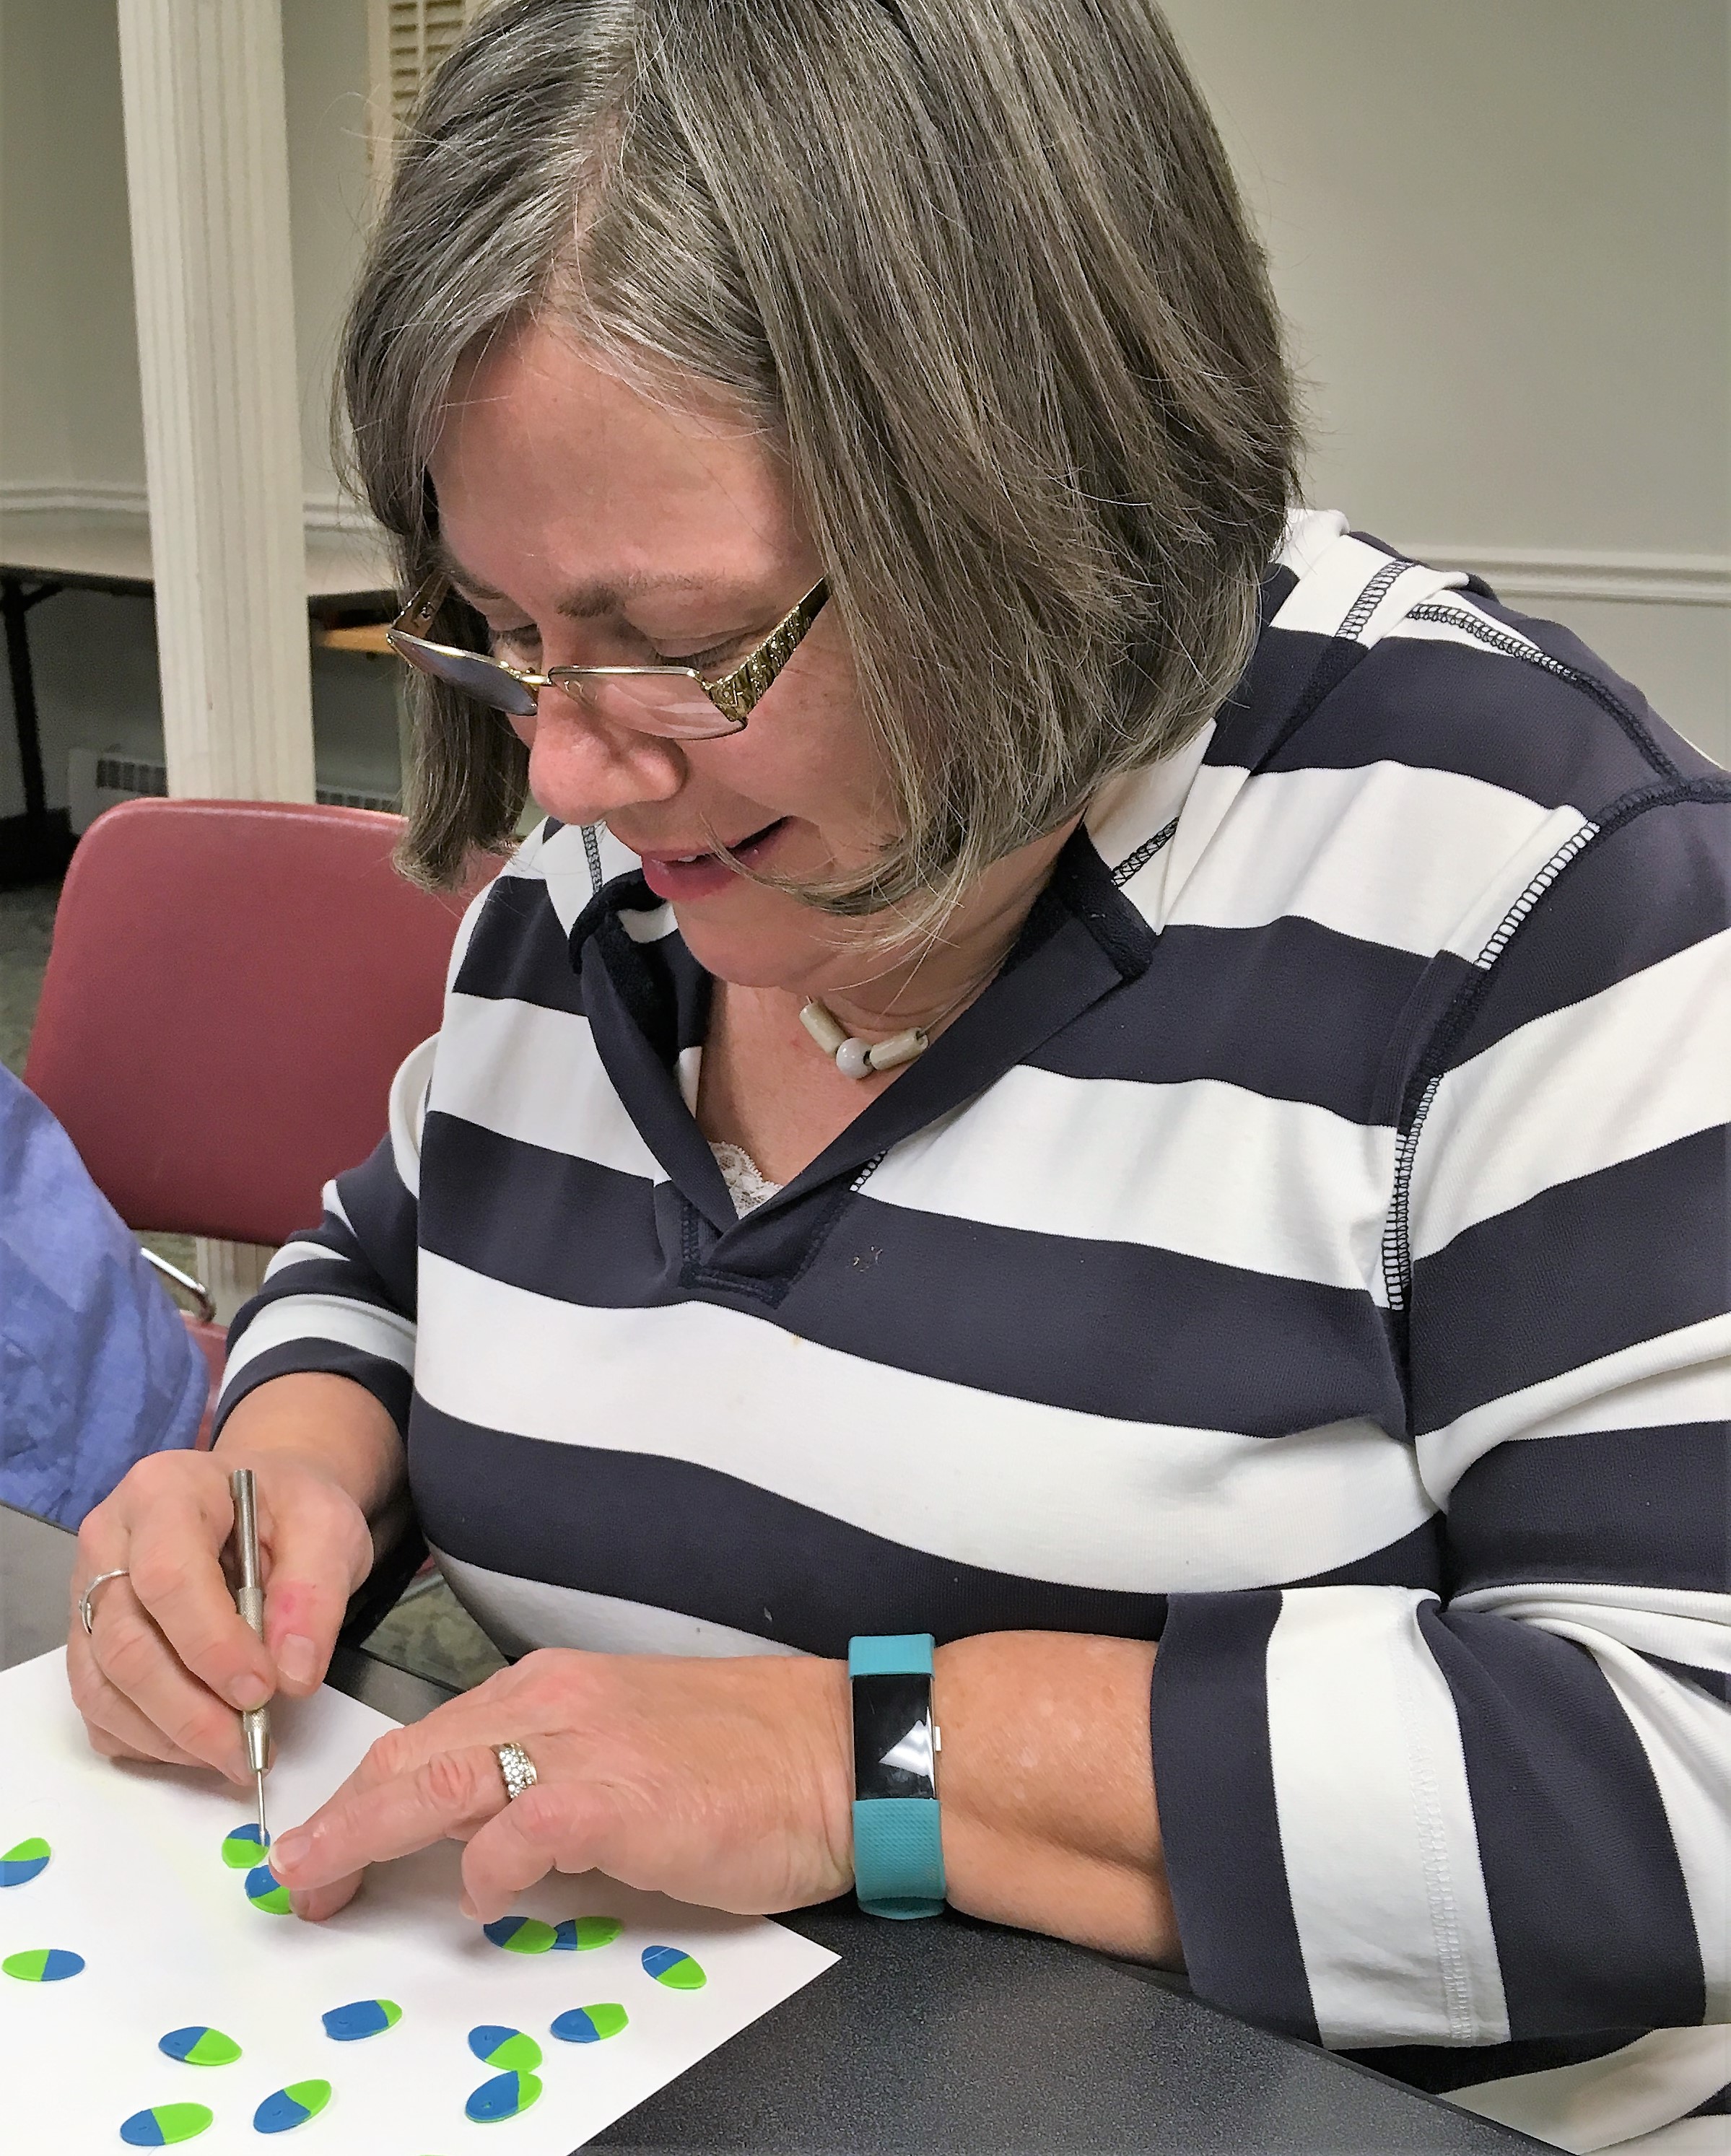
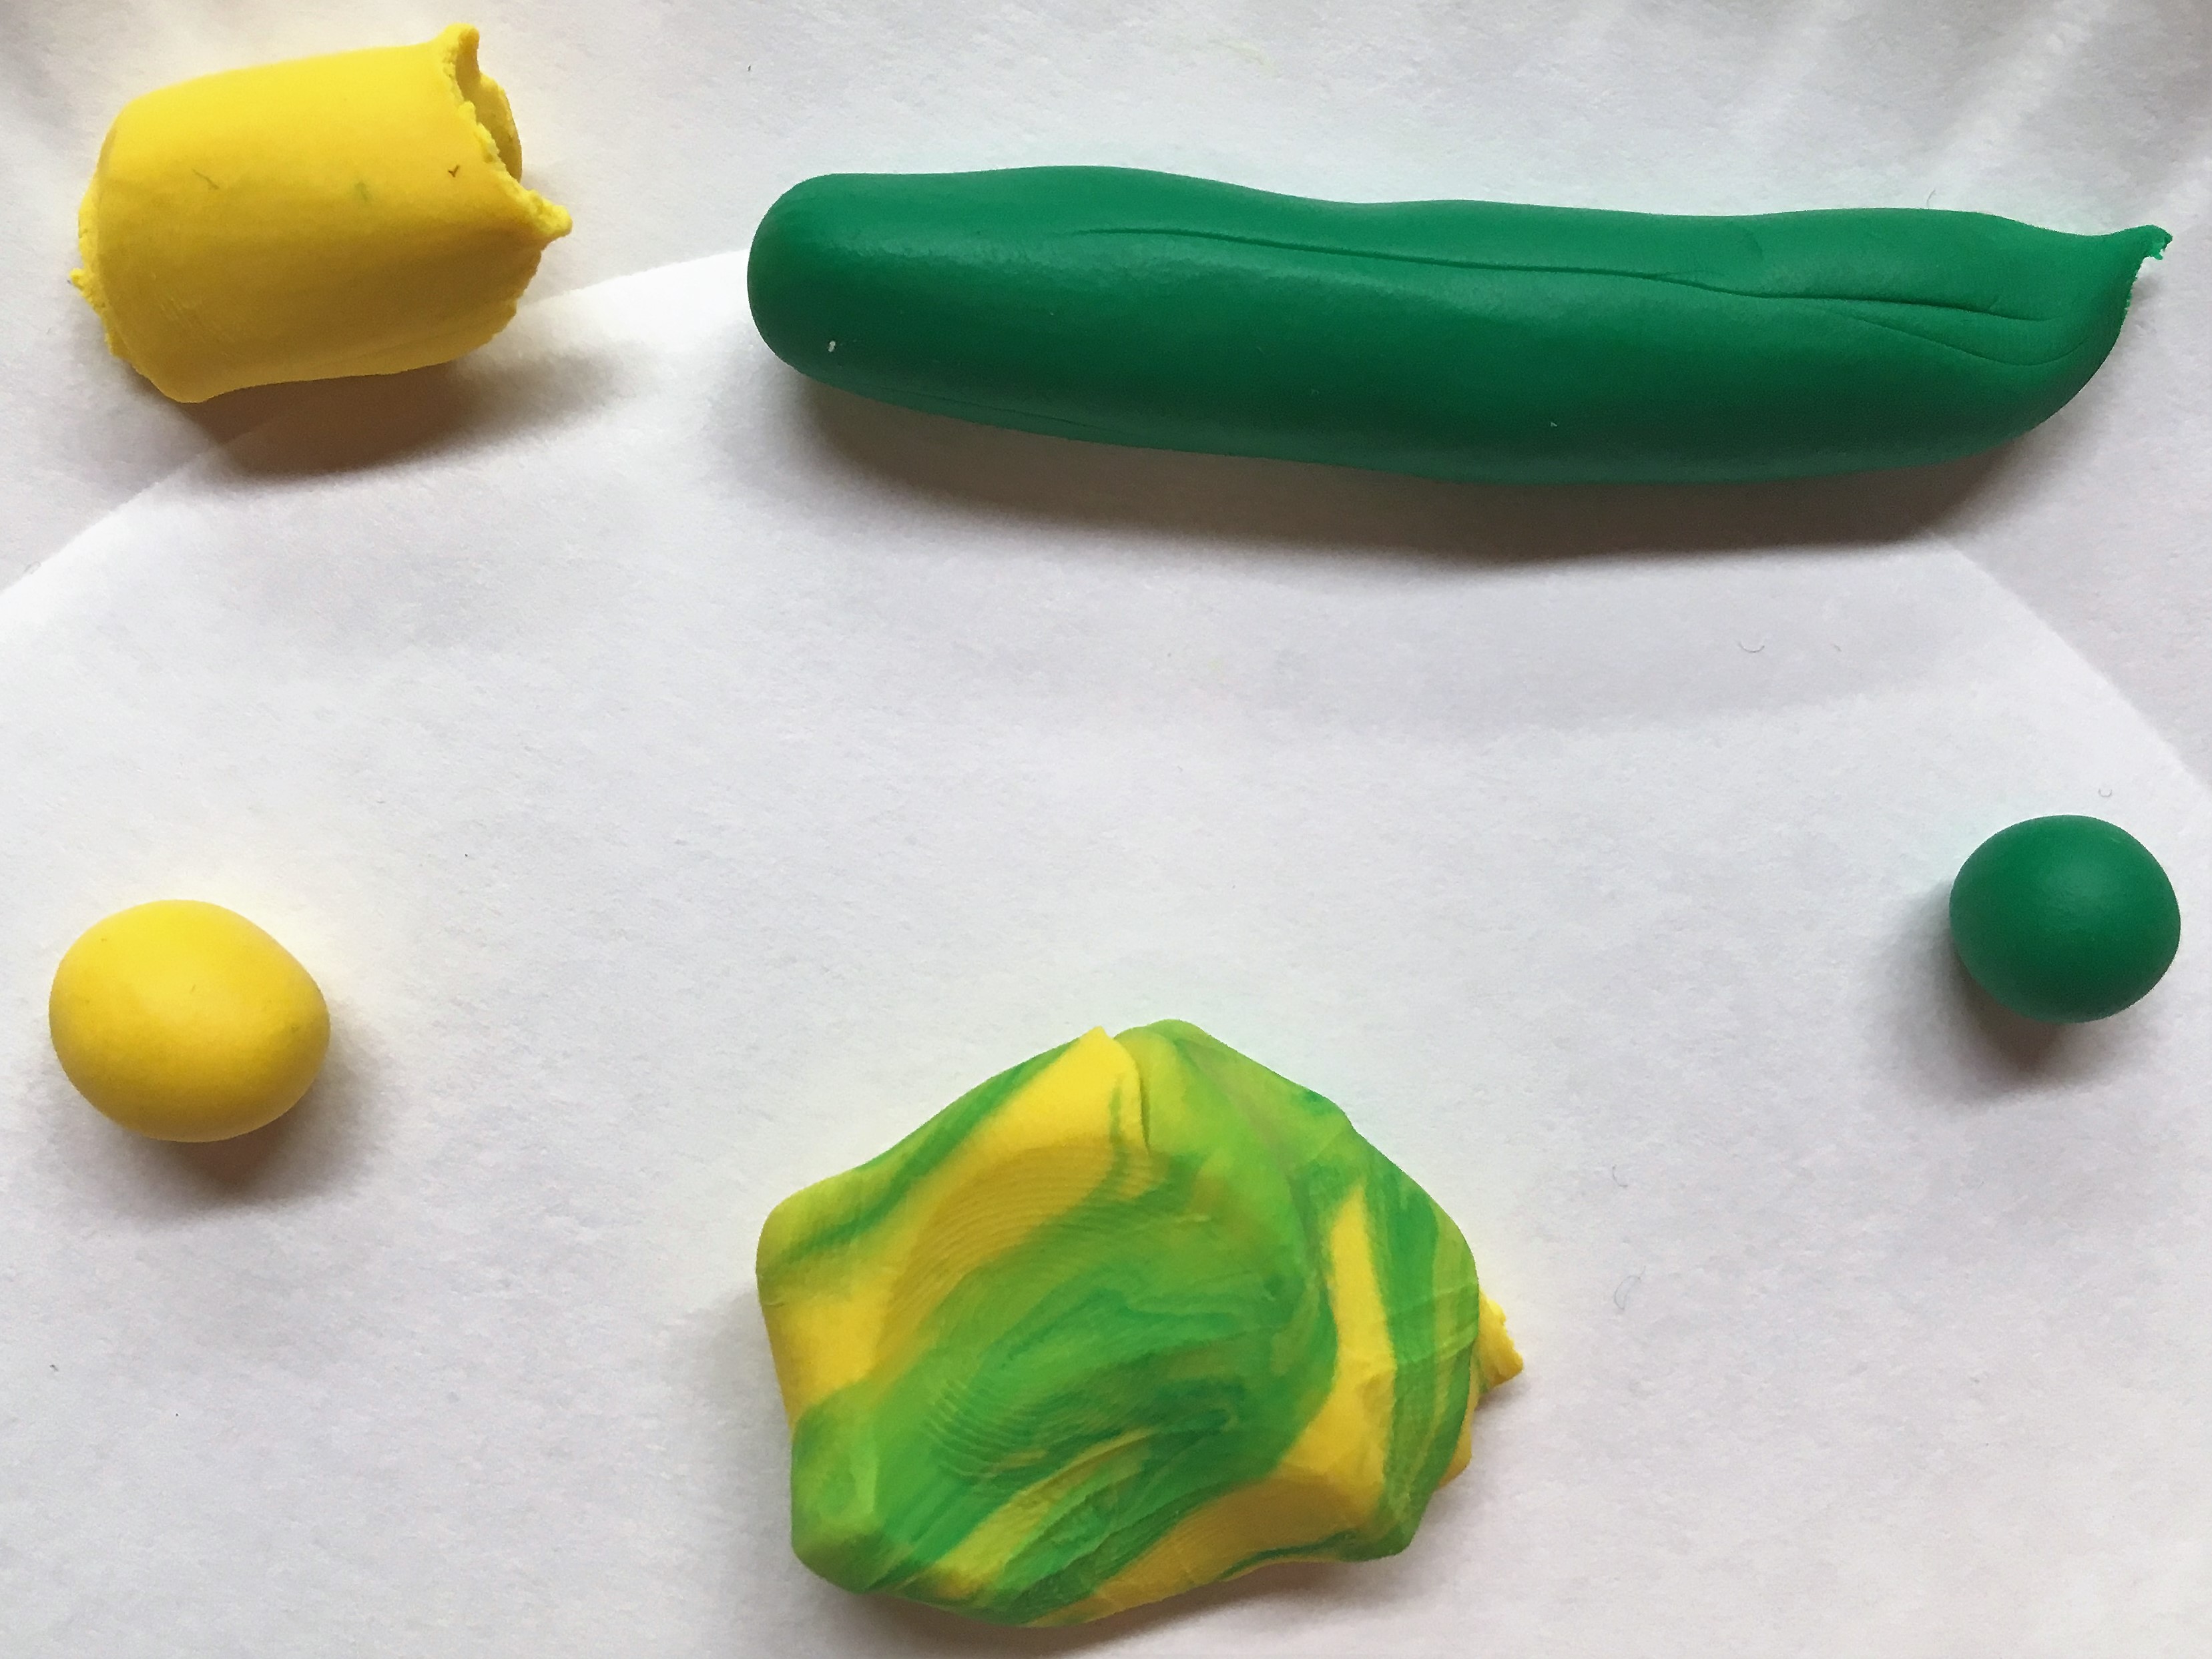
Those who were brave enough to come out to our Tuesday night workshop two weeks ago {was that the night before Nor’easter Number Two? I can’t even remember now. All I know for sure is that last week’s workshop, Upcycled Sweater Mittens, was (ironically) cancelled due to snow. We’ll reschedule that one come Fall ‘cause, I’m gonna be honest, in my mind it’s bright and sunny and warm out and mittens are the last thing I want to think about.} Wait, what was I saying? Oh yeah, our Tuesday night workshop two weeks ago…so, those who were brave enough to come out for it had a great time making Polymer Clay Jewelry. We made beads for necklaces and dangly earrings and one enterprising participant made rings. With some basic instruction on construction and color mixing, my little artistes went to Polymer Clay Town and came up with some fabulous designs!
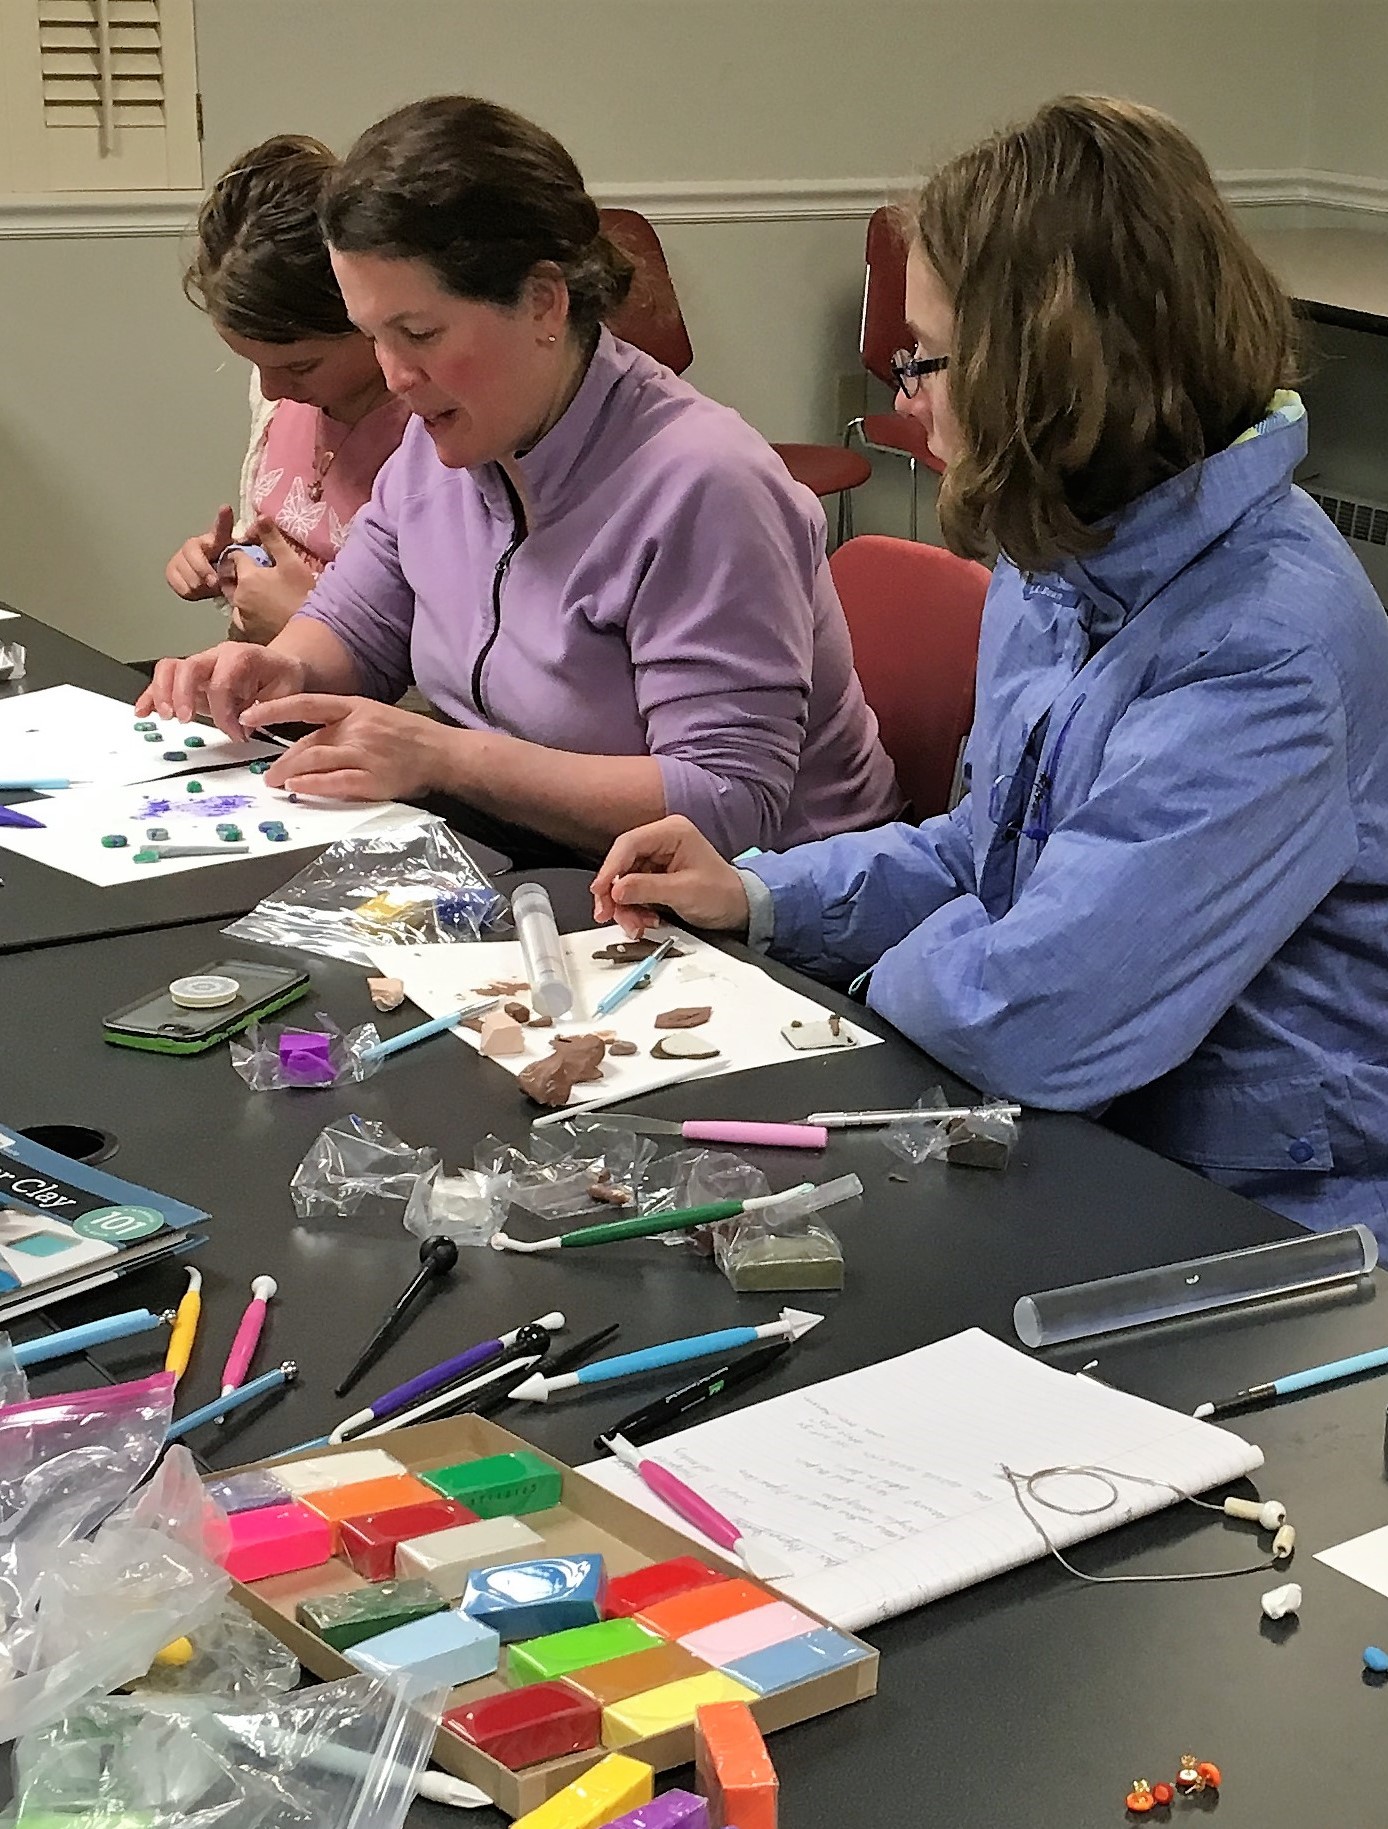
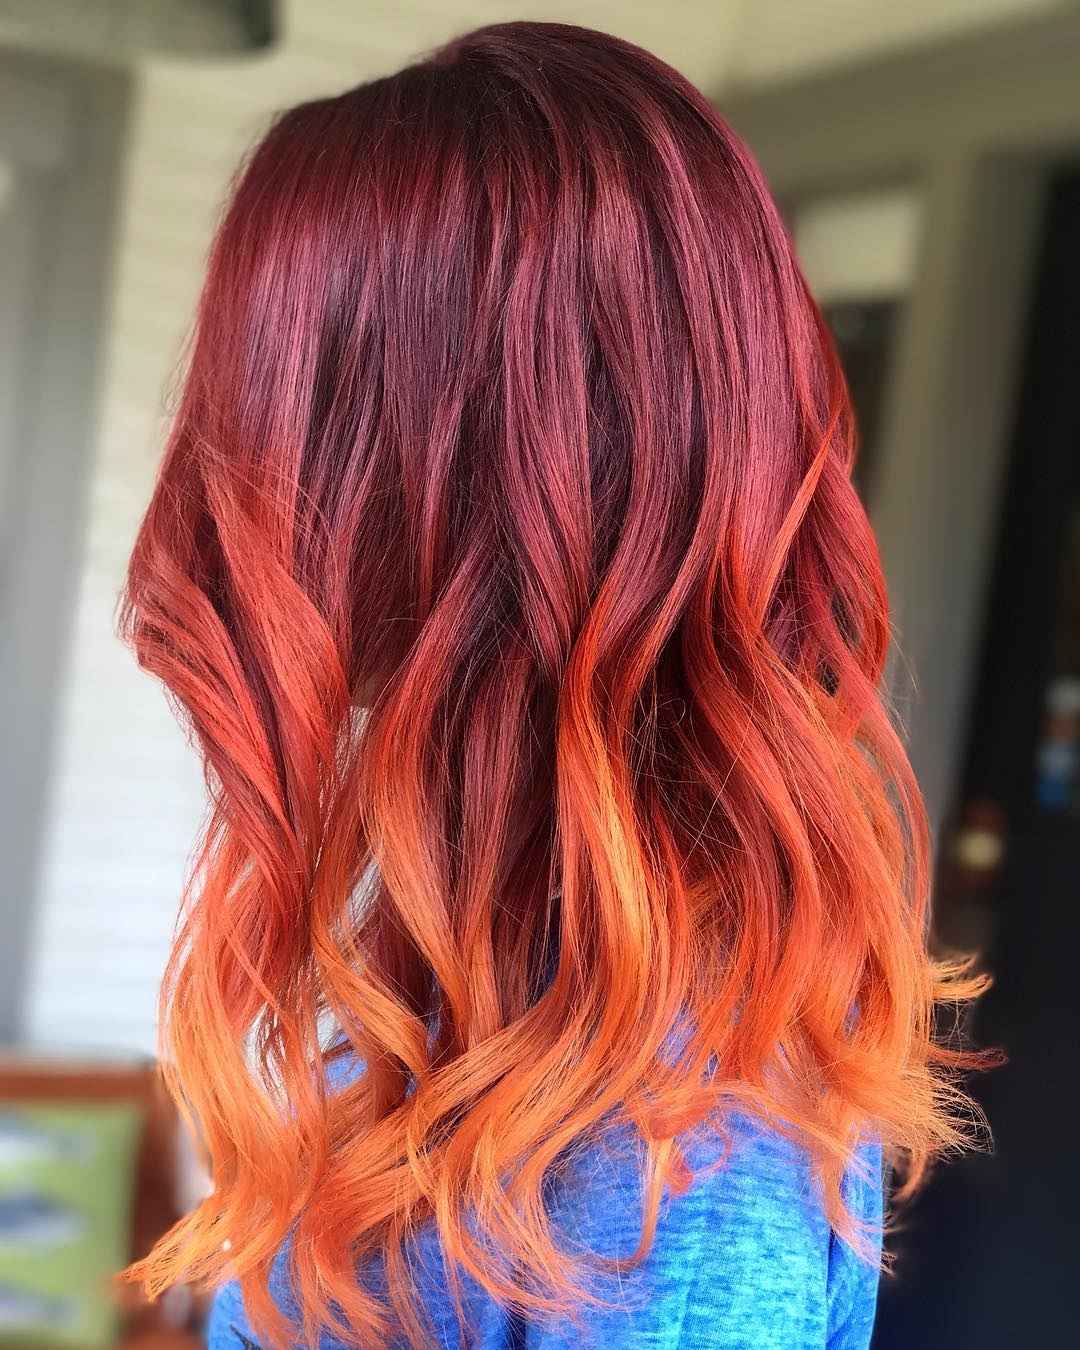
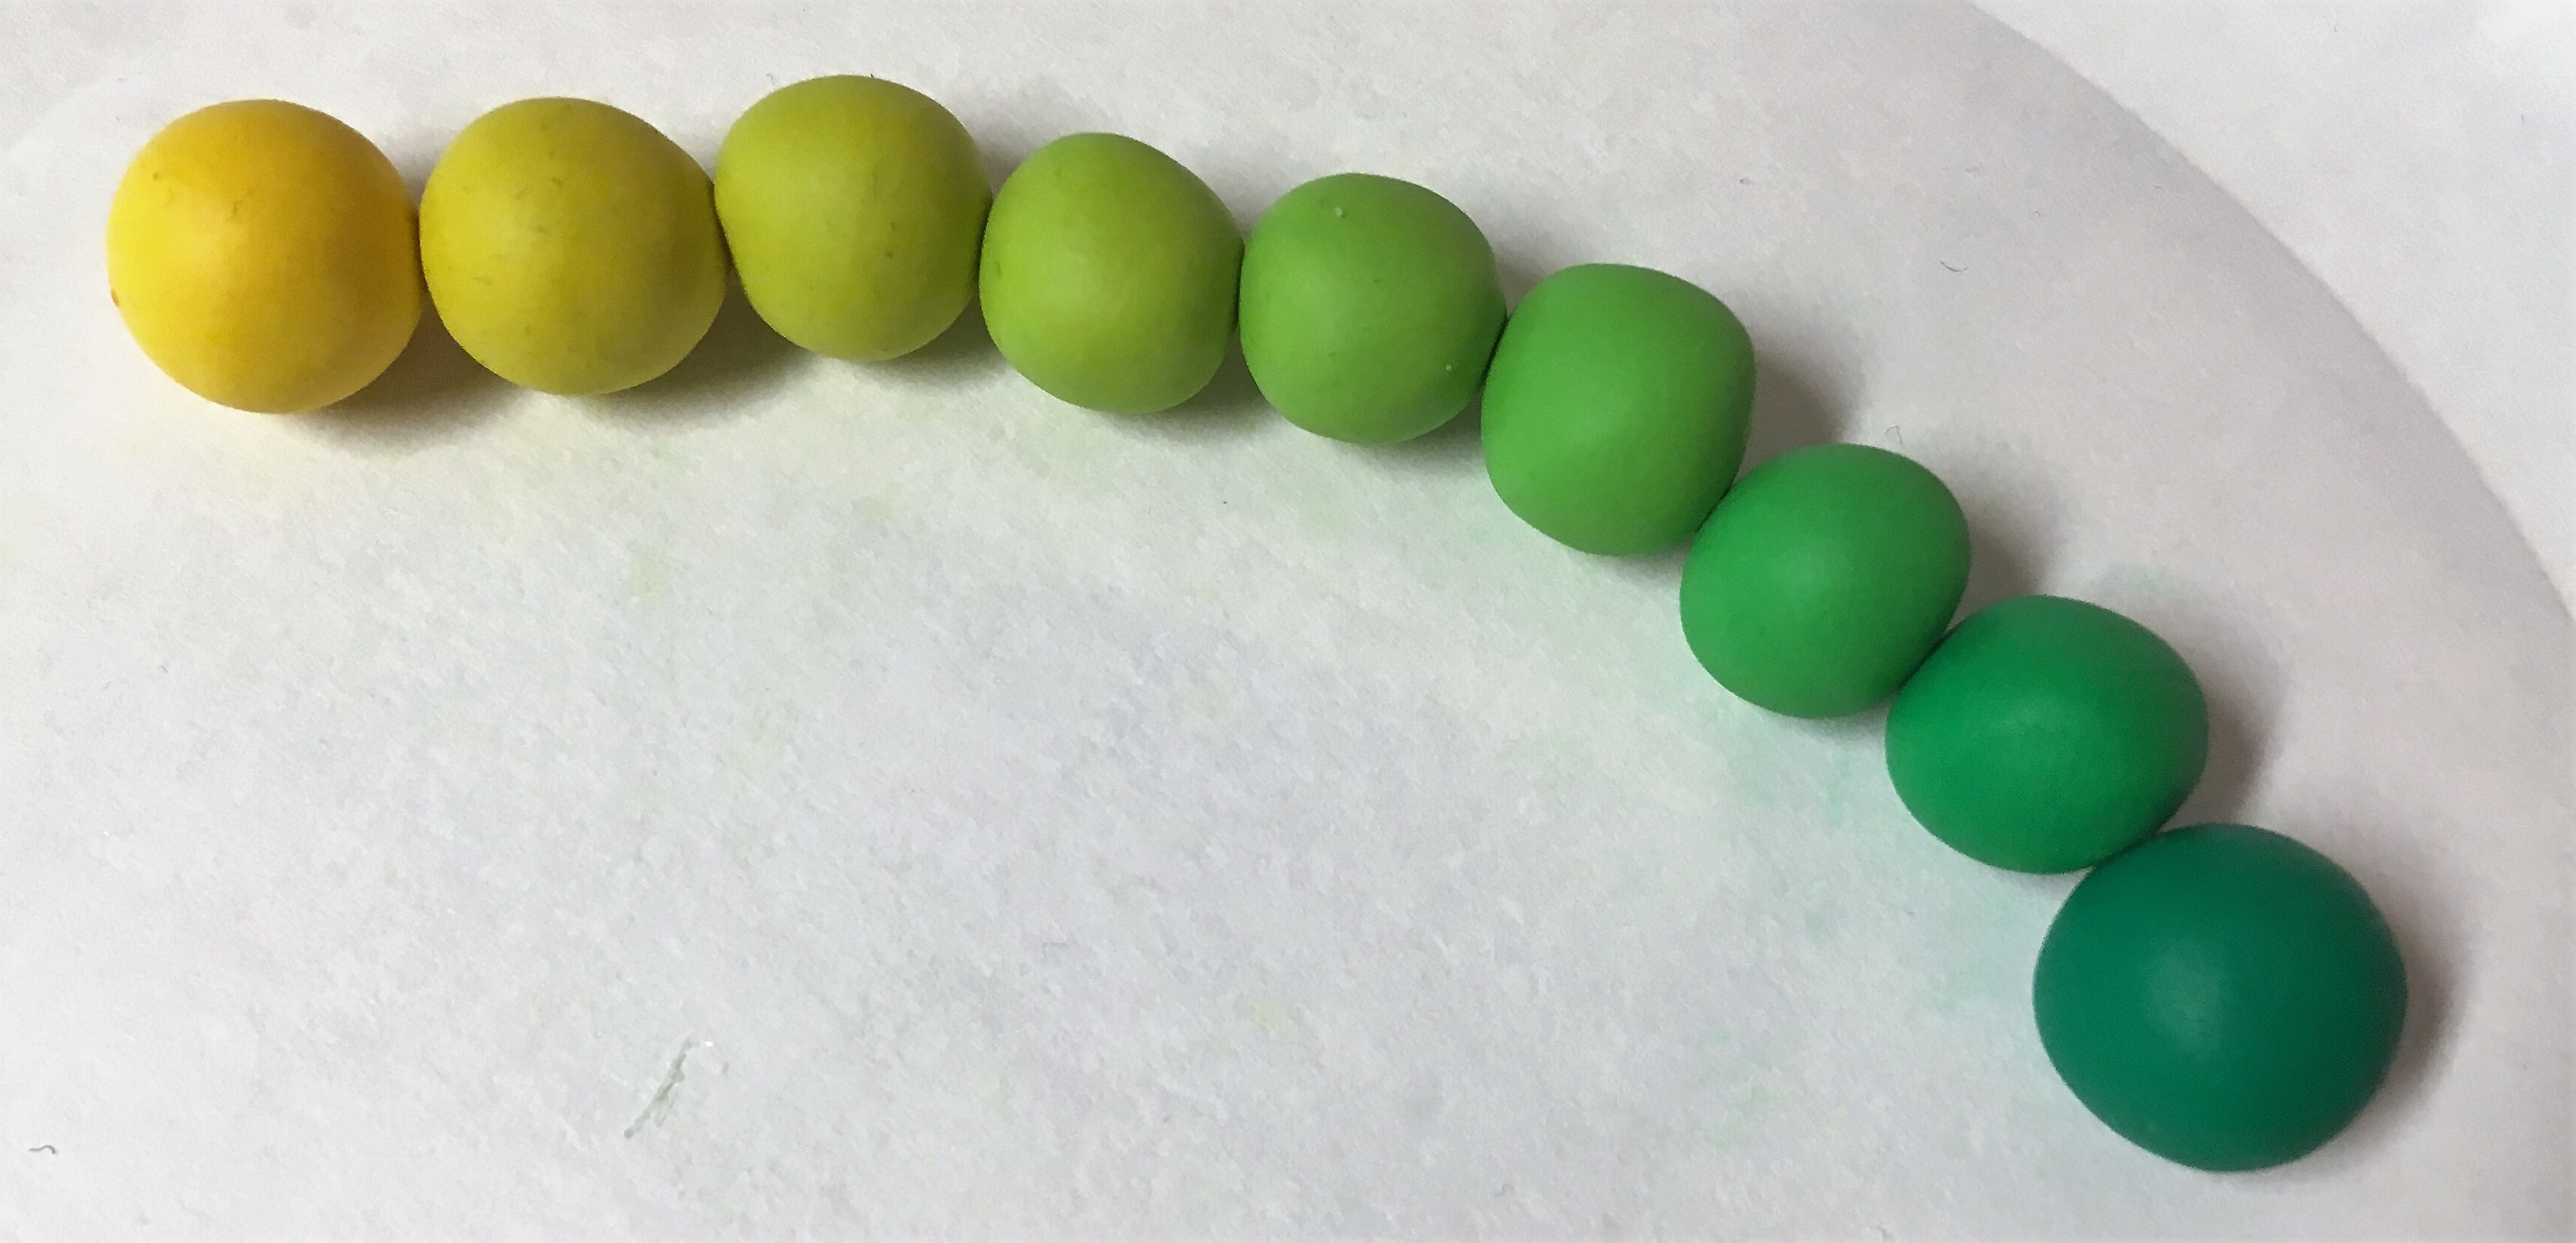
In my opinion, one of the best parts of working with polymer clay is the incredible variety of colors available, but with some basic mixing that palette can be infinitely expanded. So, today I’m going to teach you how to mix a polymer clay gradient, or Ombré. Not familiar with the term? You’ve definitely seen Ombré gradients out in the world recently, maybe even downstairs at the library reference desk…
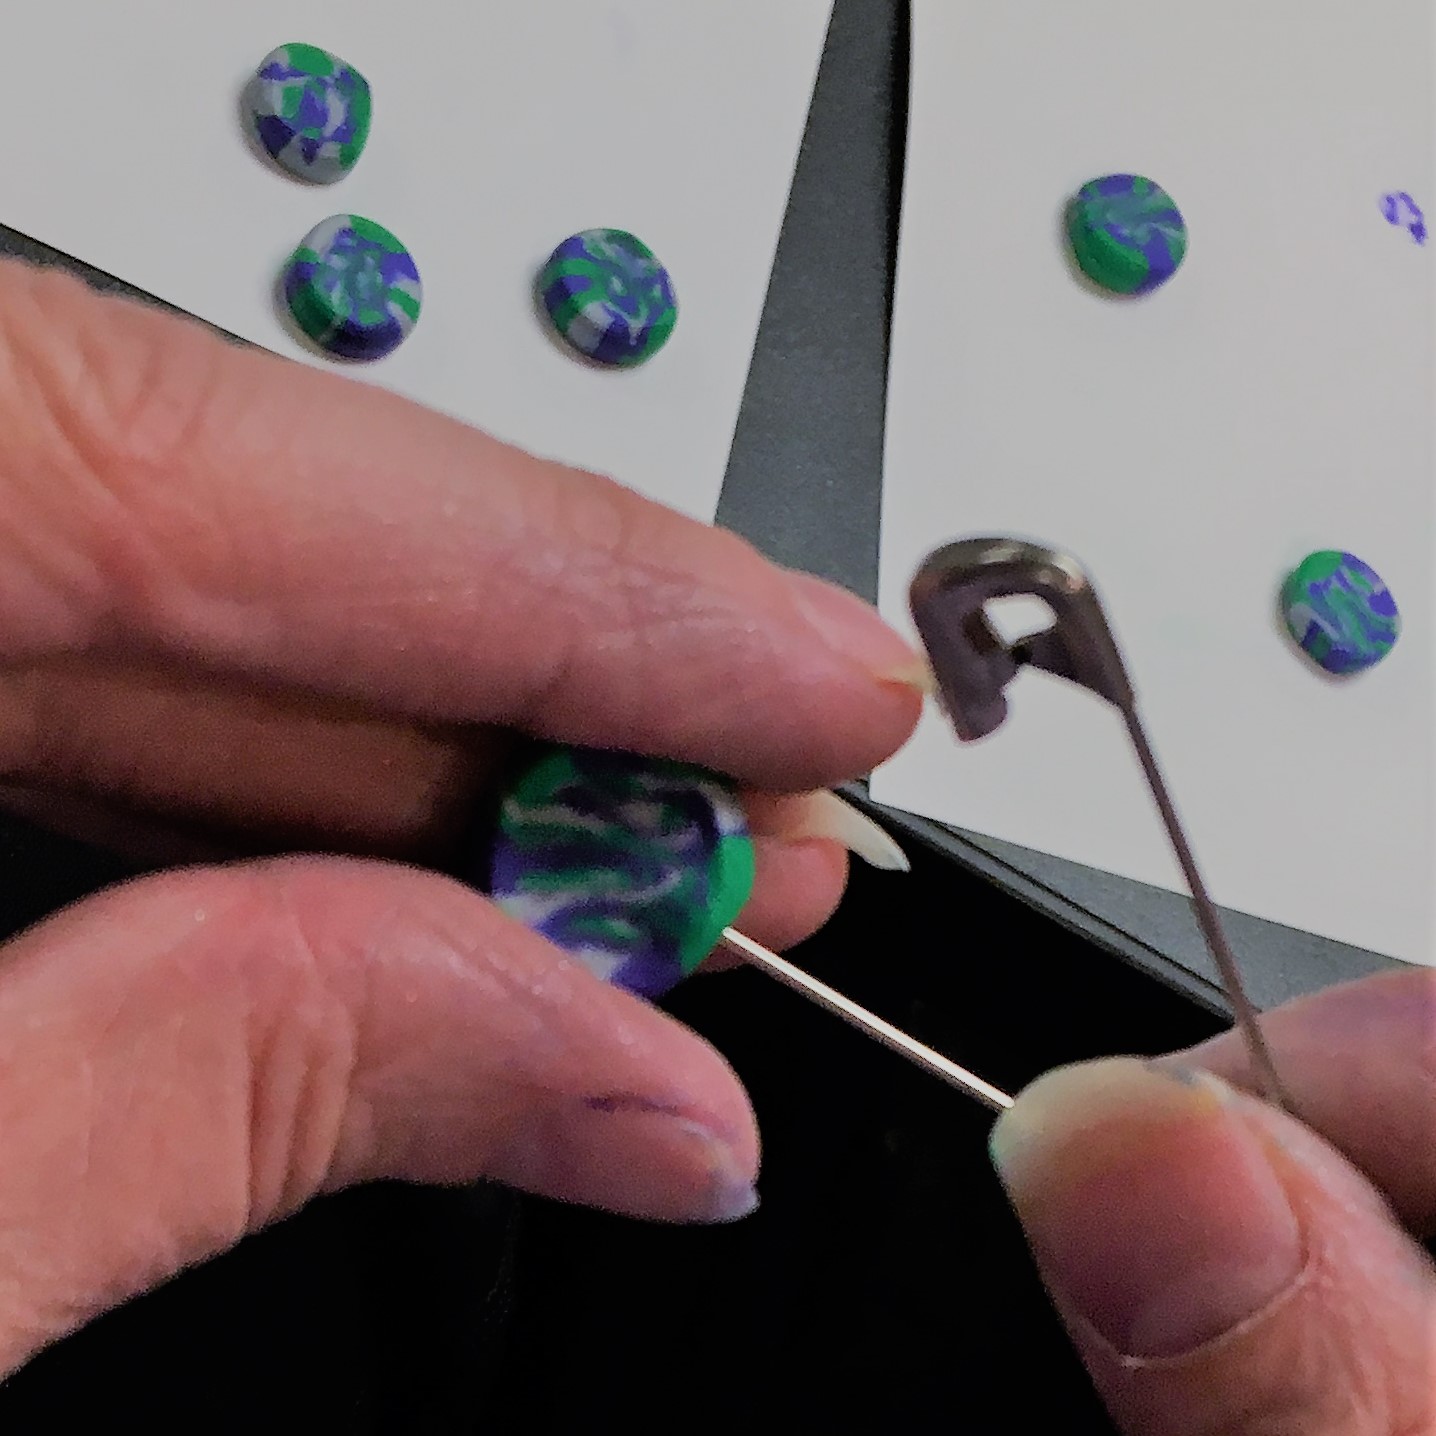
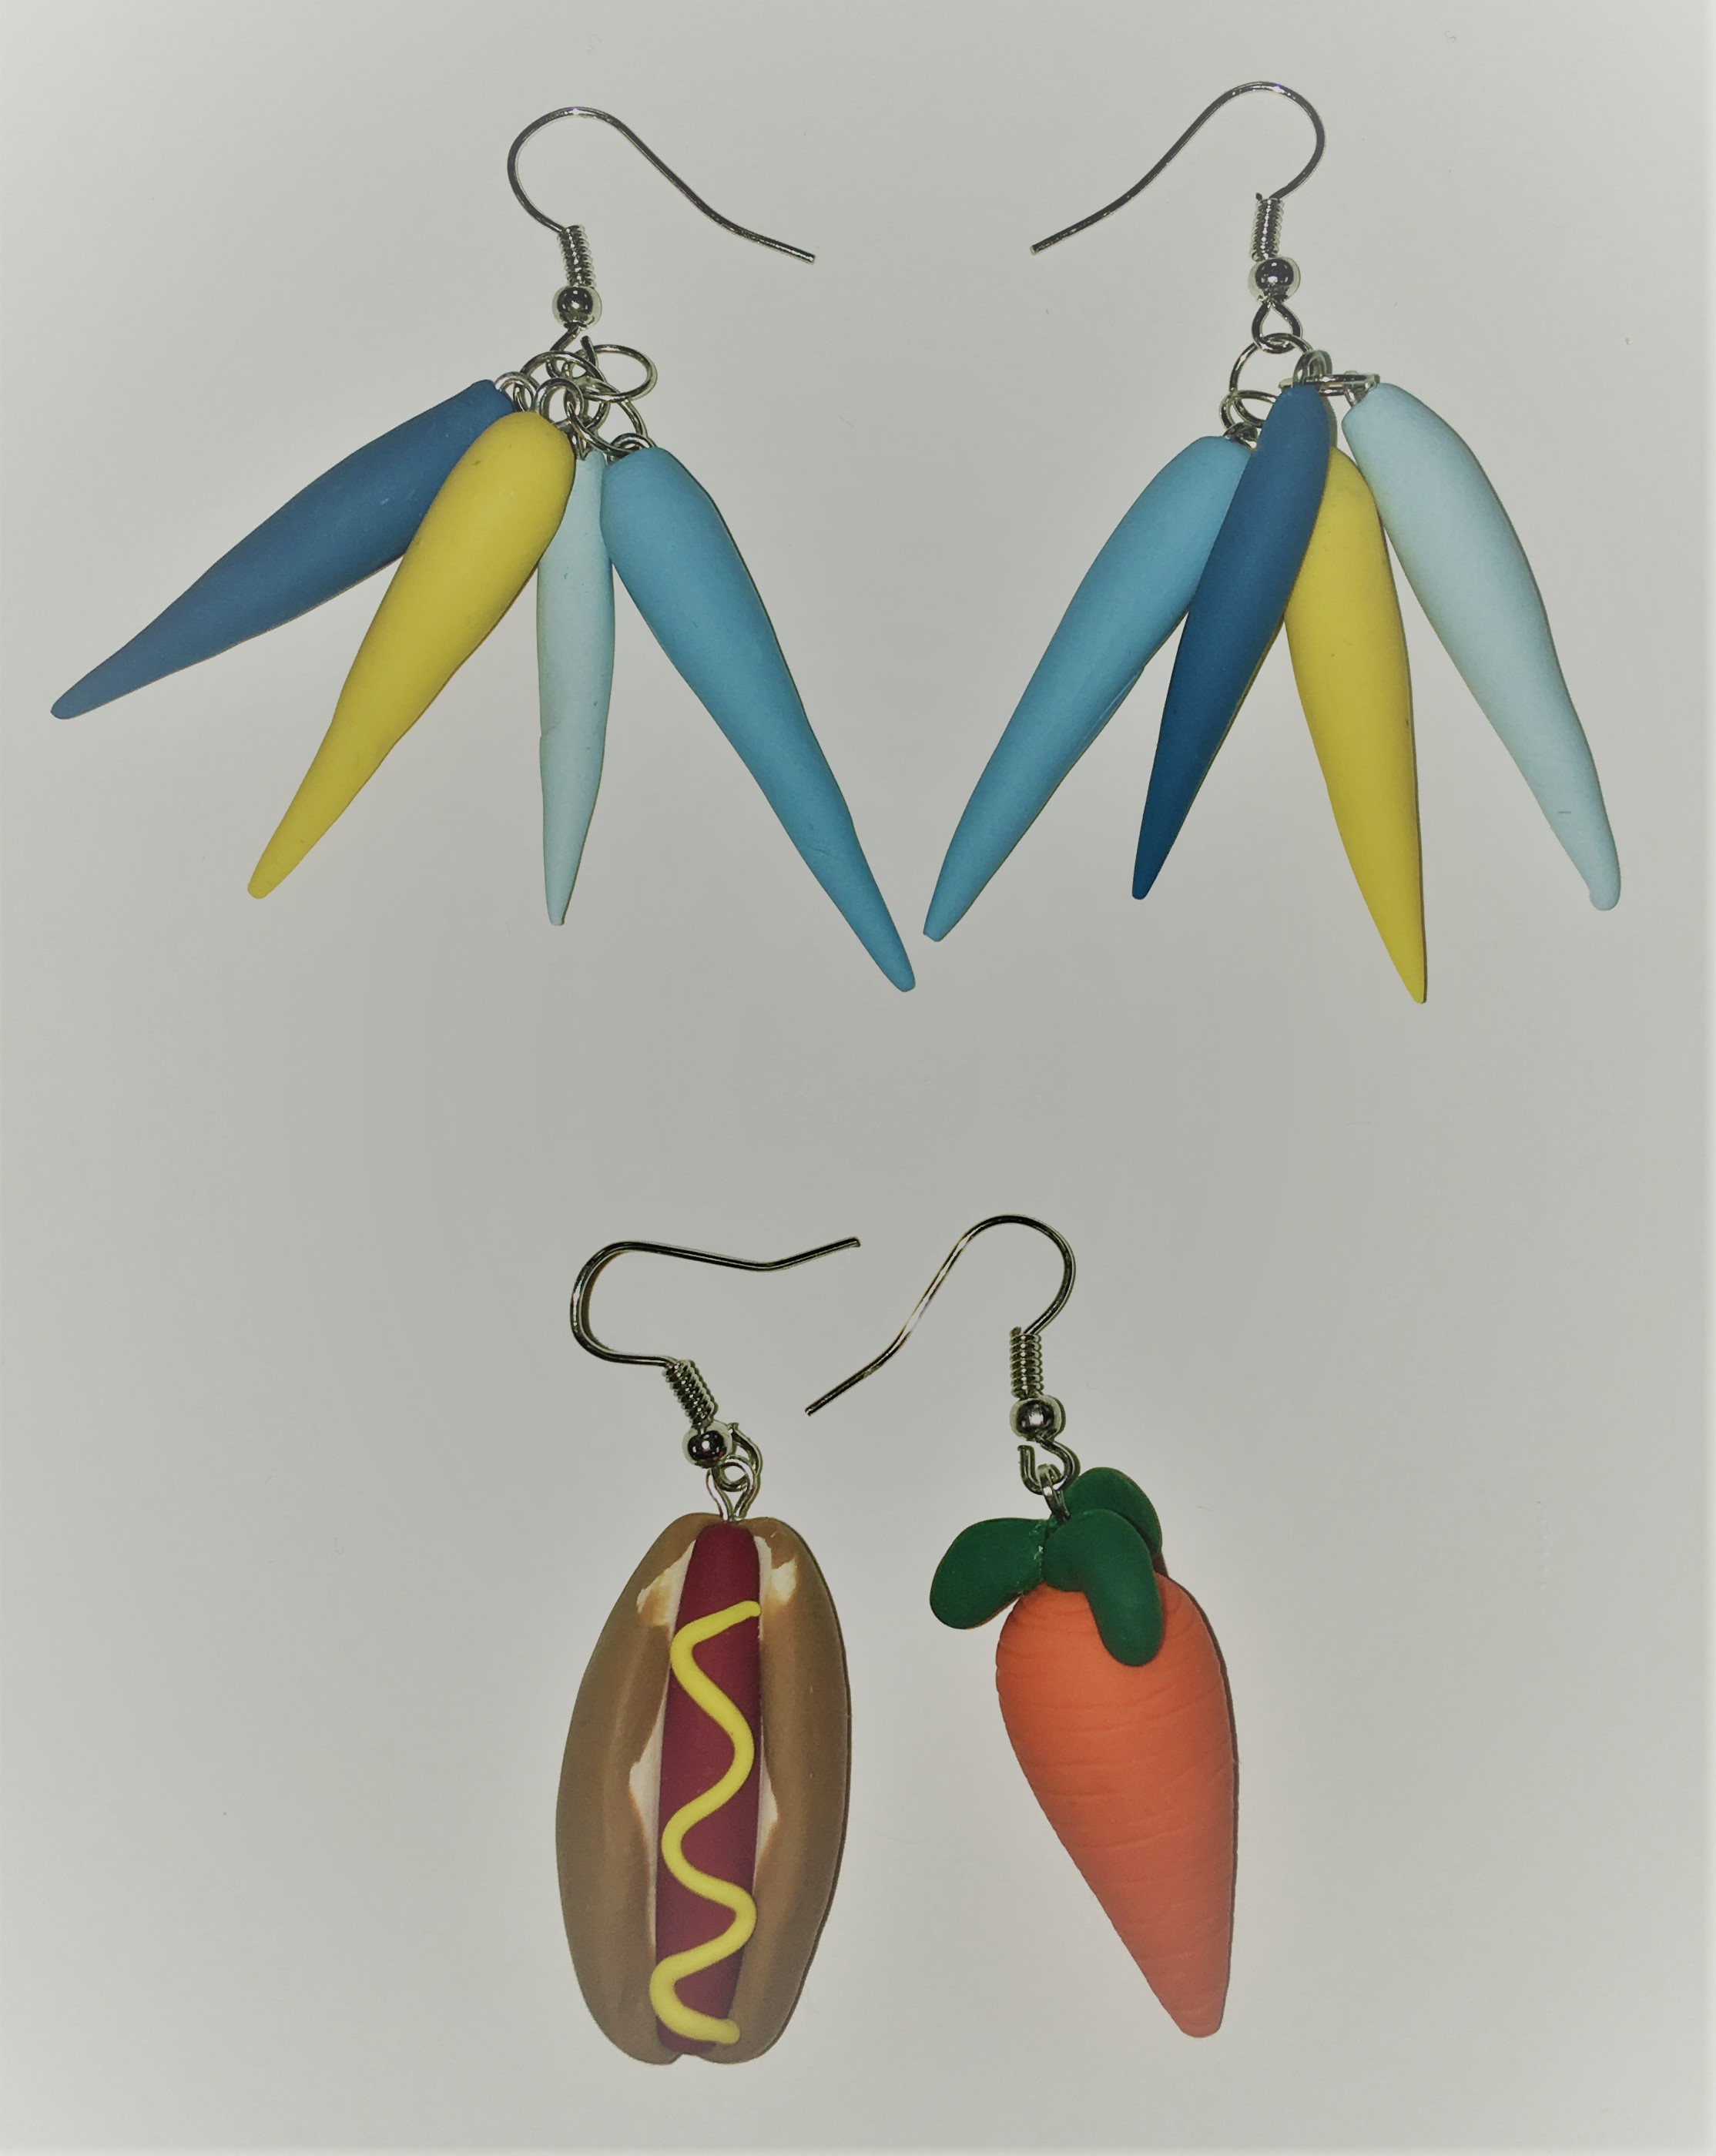
Here are the Ombré inspired earrings I made, and then this pair that has nothing to do with color gradients because the other best thing about polymer clay is making really tiny sculptures of food that you can wear.
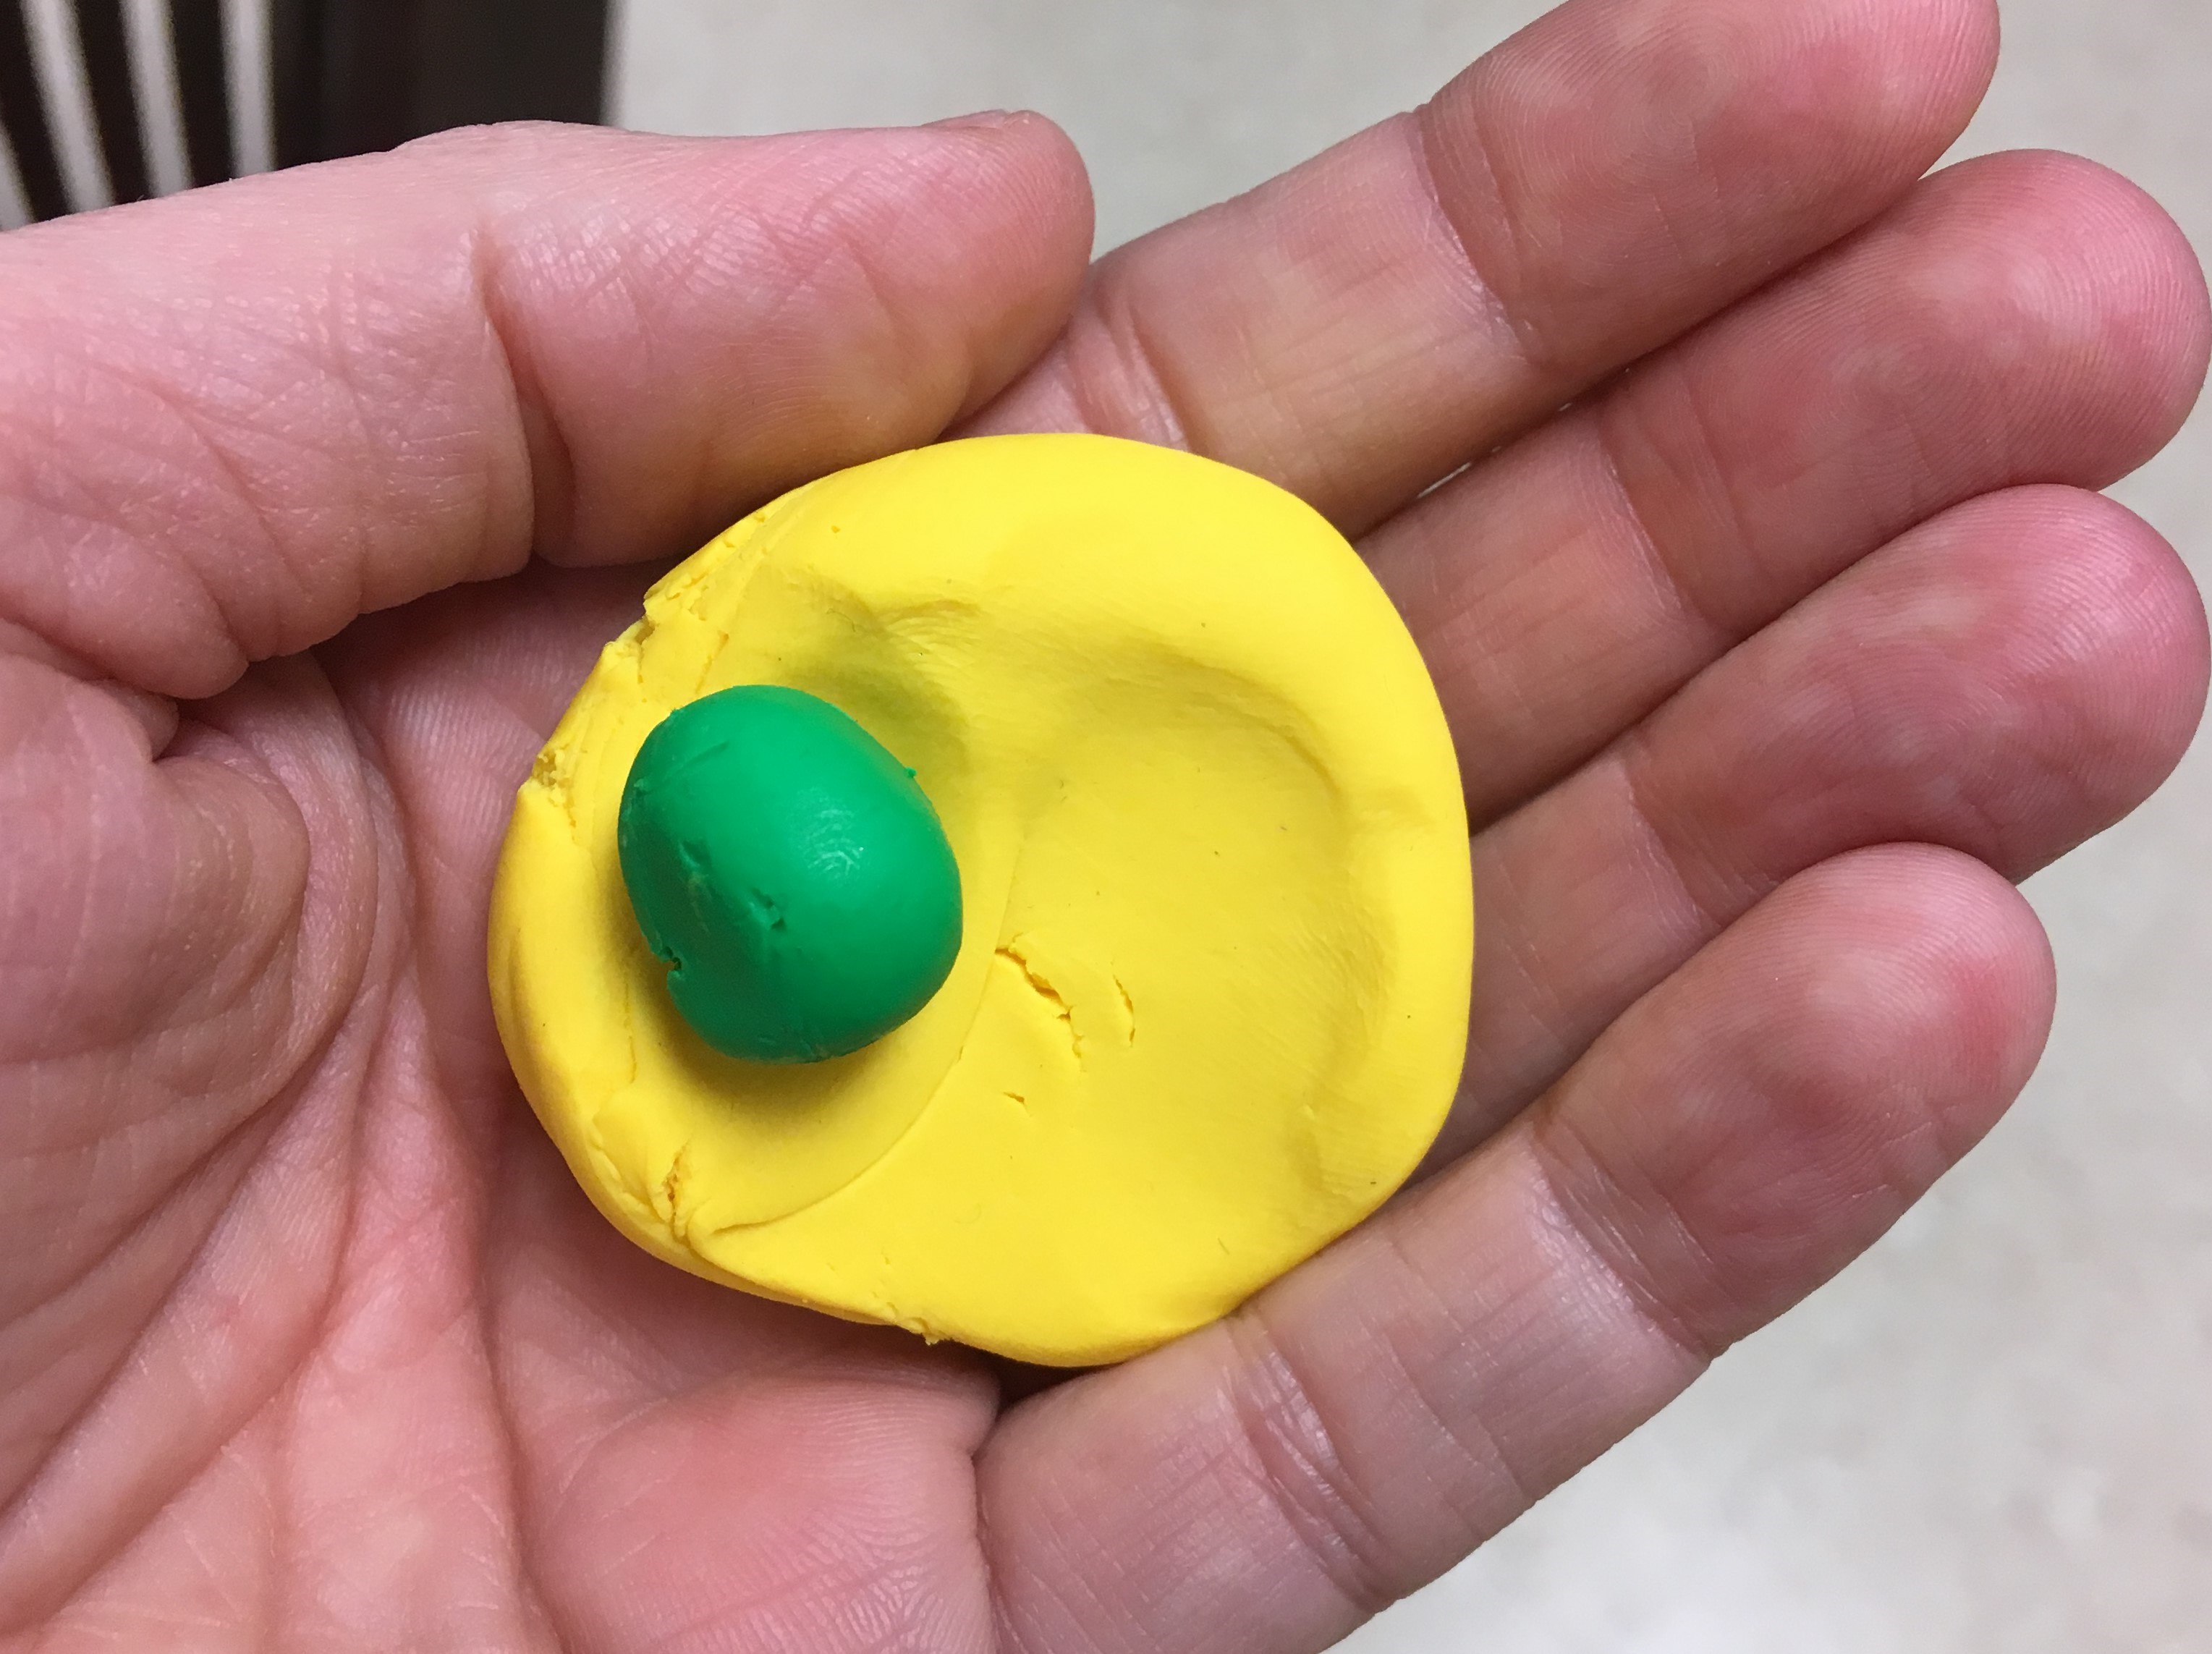
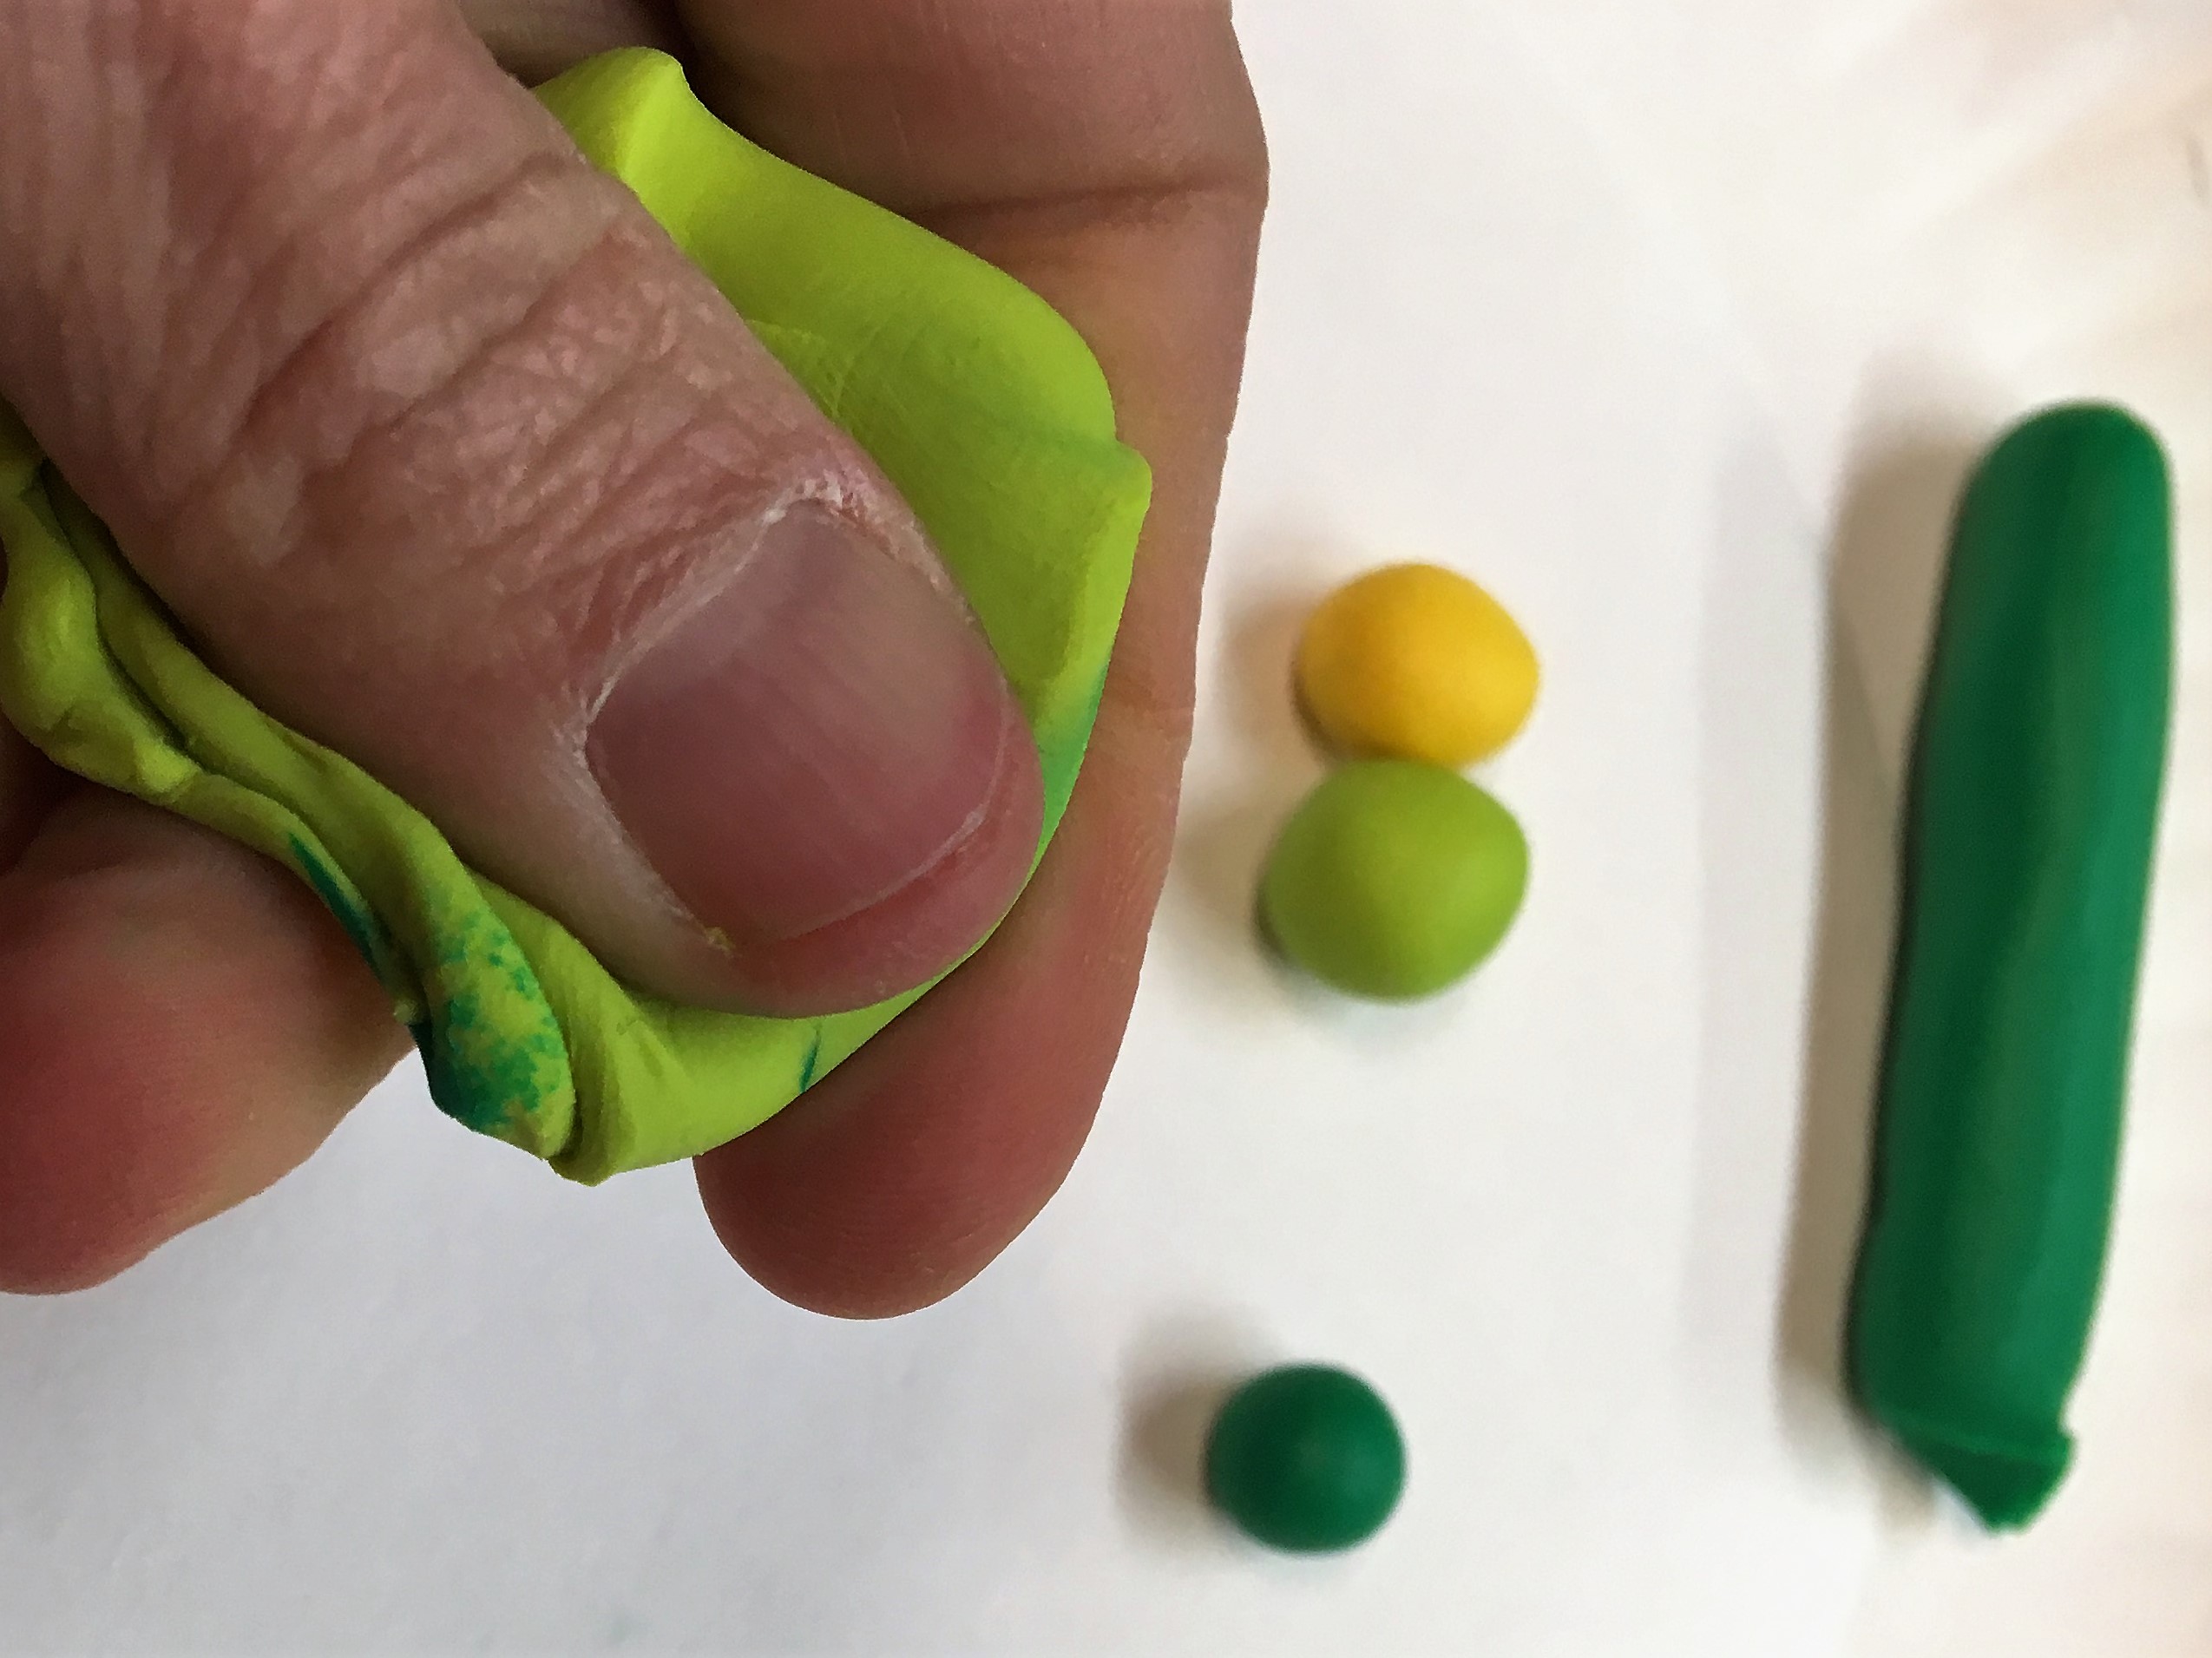
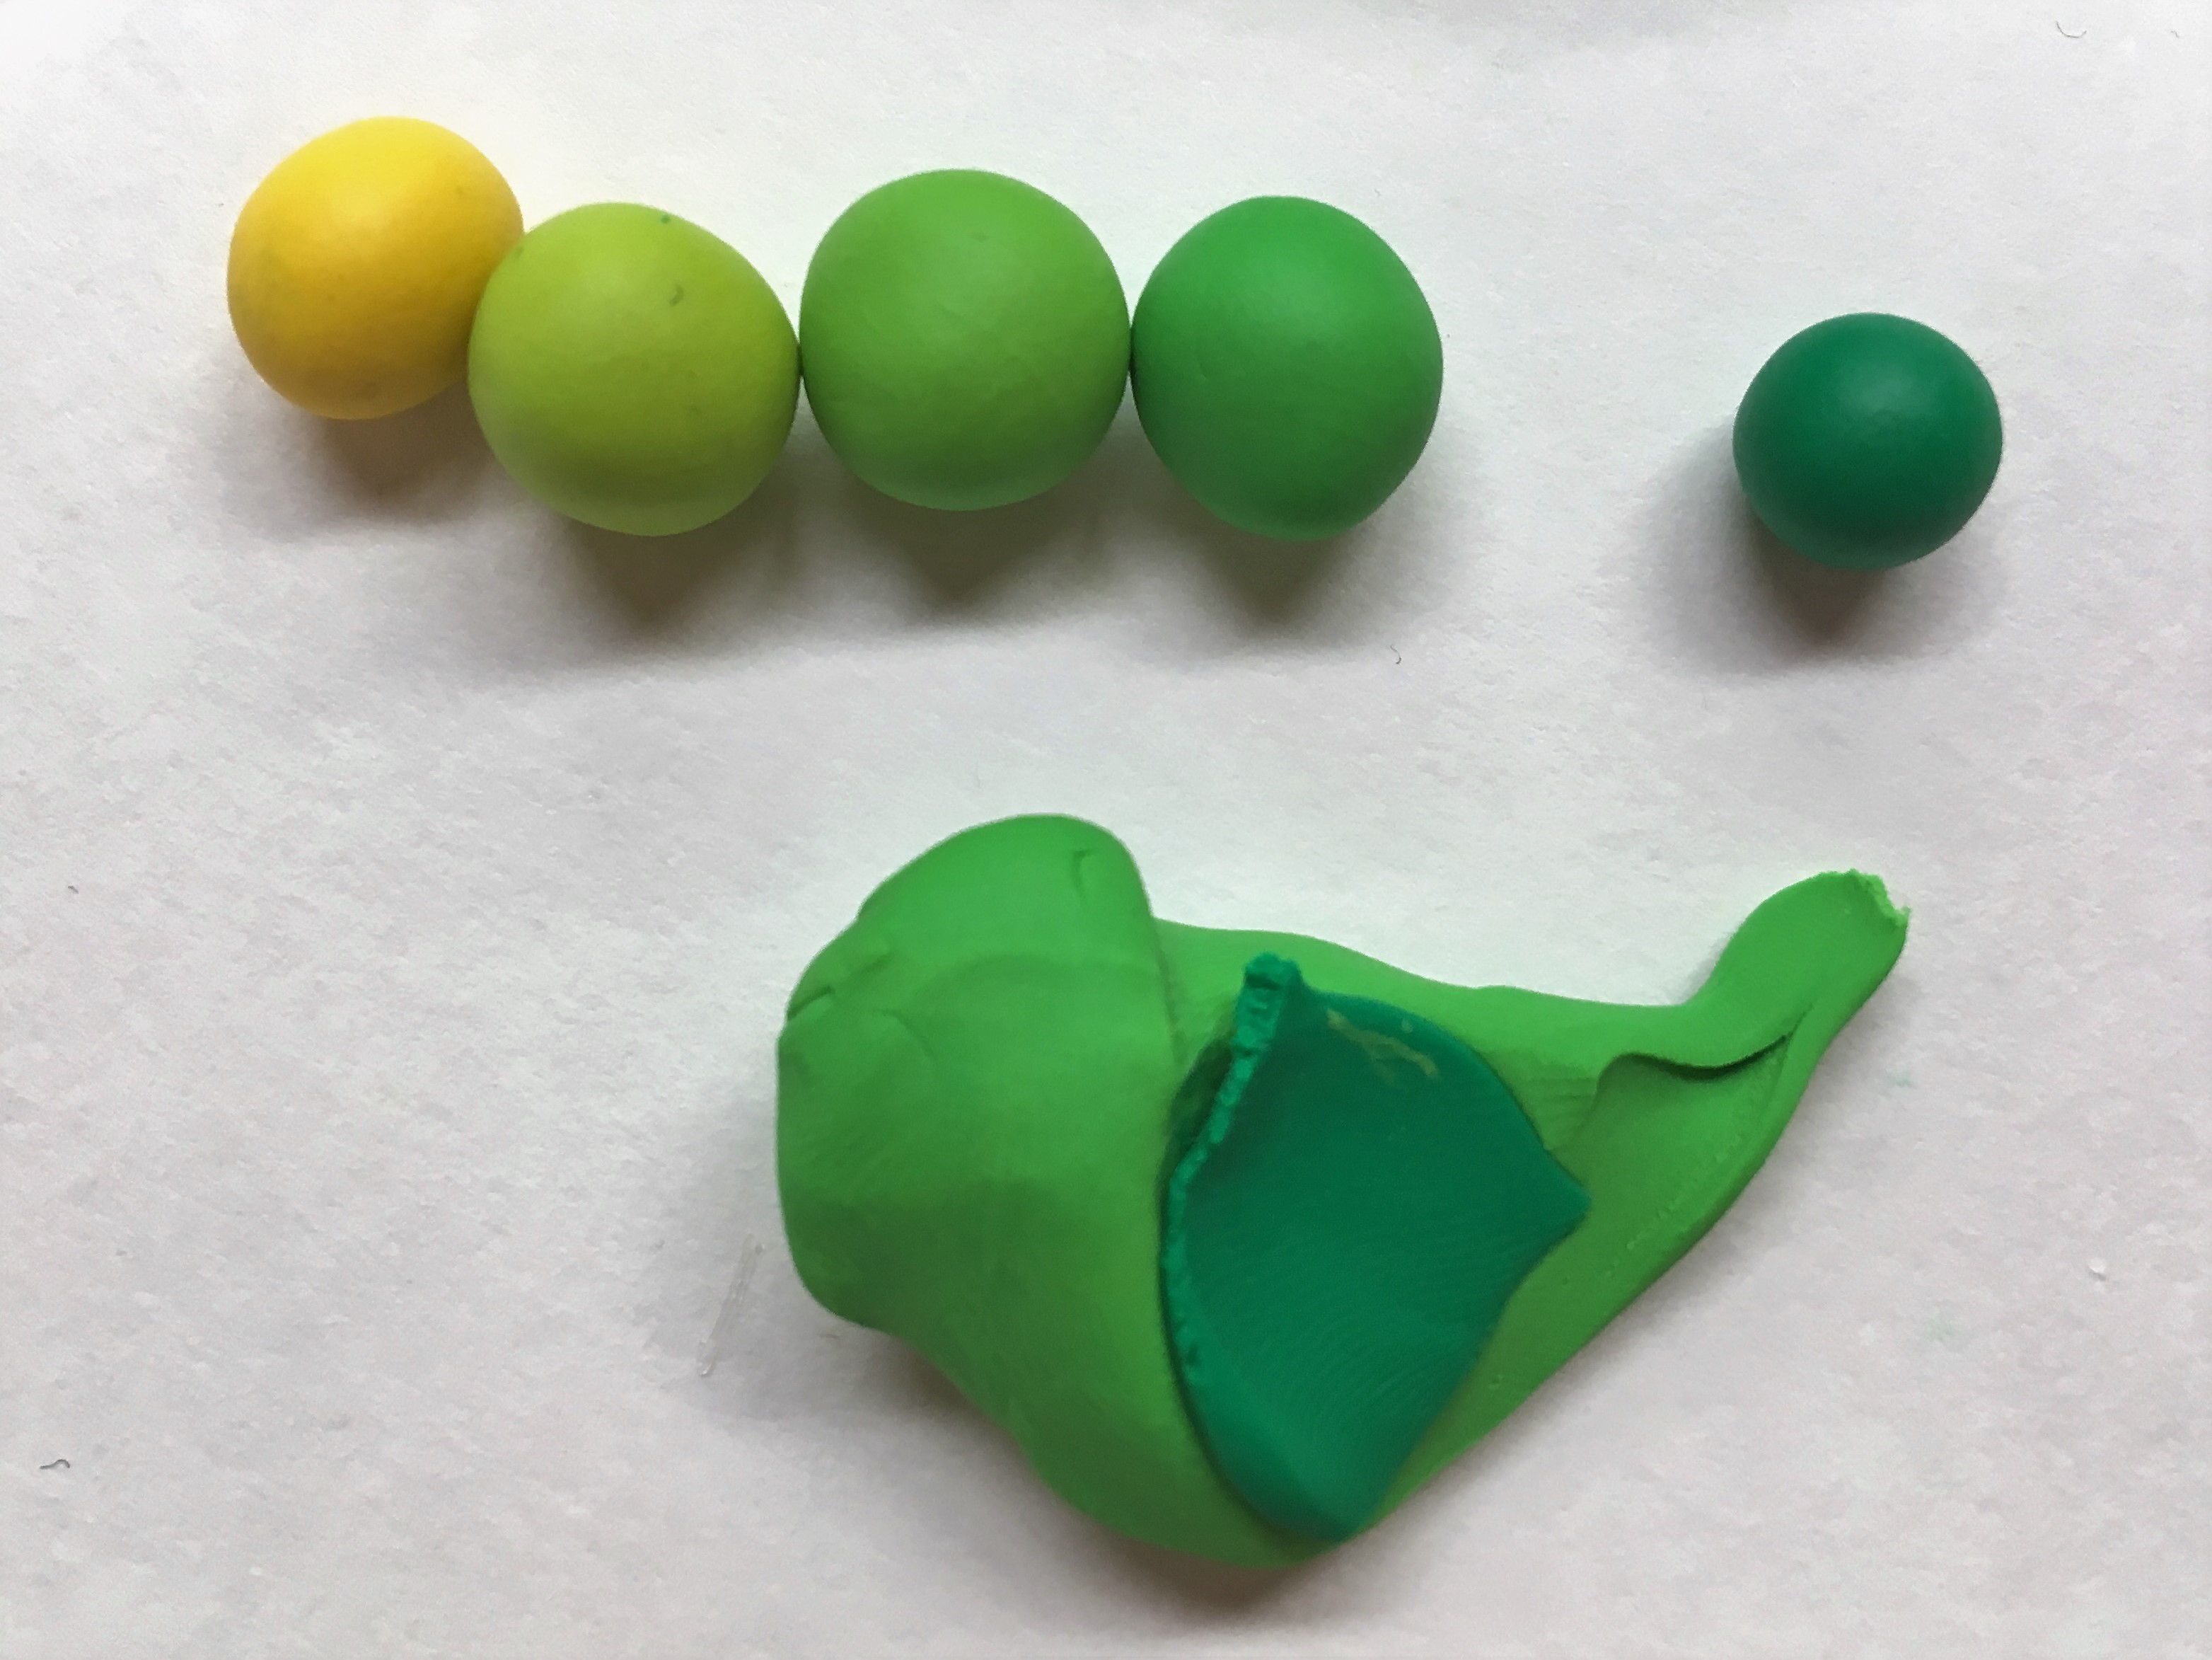
Okay, back to teaching you something: Polymer clay colors can be mixed together just like mixing paint. For this Ombré gradient I started with yellow and green. I set aside a ball of each of my original colors and then I got to mixing. It’s important to always start with more of your lighter color then add the darker color to it little by little. I’m going to use some technical lingo here, so try to keep up. First, I got a blob of yellow, then I added a much smaller blob of green to it. To mix them, I used a very precise smooshing motion to fully integrate the two colors. Then I made a ball of that new color, set it aside, added another small blob of green to my bigger blob, and smooshed. Repeat, repeat, repeat and voilà: Ombré!
Sound fun? Join us next month for another polymer clay jewelry workshop on the evening of April 24th or the morning of the 26th. To see all of our other great upcoming classes, check out our Events page. See you back here next week at the Makerspace Blog where I’m going to discuss our nation’s current political climate. Just kidding. I’m going to talk about Making!